Monday, January 22, 2007

Thoughts on the Steel City Mortiser


I picked up the Steel City Mortiser about 2 weeks ago from Woodcraft at the Woodworks Show in Springfield, MA. With the $50 rebate and only 5% tax it came out to about $230 for the mortiser with 4 chisels. The packaging was exceptional, you just have to be careful opening the crate so that you dont slice the manual in half.

The first fence that was included with the mortiser had some corrosion and overspray, but SCTW responded within a few hours of my first email and sent out a new one. Great communications, hopefully as the company gets larger they will keep the great communications and customer service up.

Some of the great features of this mortiser include the horizontal feed rollers, the extension supports, and the easy access to the chuck to install the bit. The horizontal feed rollers work very nice for holding the workpiece to the fence and also do a pretty good job keeping the workpiece down to the table. The extension supports are a nice design. The giant opening in the front of the casting allows very good access to the chuck for installing the bit. The plastic door knob is a little hard to use, it has a washer on it that tends to fall back and get stuck meaning you have to pull it back out in order to close the clear plastic doors, I finally got fed up with it and just superglued the plastic washer to the knob. The fence ratchet movement is very smooth, and the locking mechanism works very well.

The mortiser has good power, it cut 1/2" mortises in Hard Maple with no problem. The chisels were sharp right out of the box, I plan to get one of those sharpening cone dealies at some point to see how much better it makes the chisels work, but it already works quite well.

After getting this I don't know how I got away without a mortiser for so long. This tool has really increased my productivity.

Sunday, December 31, 2006

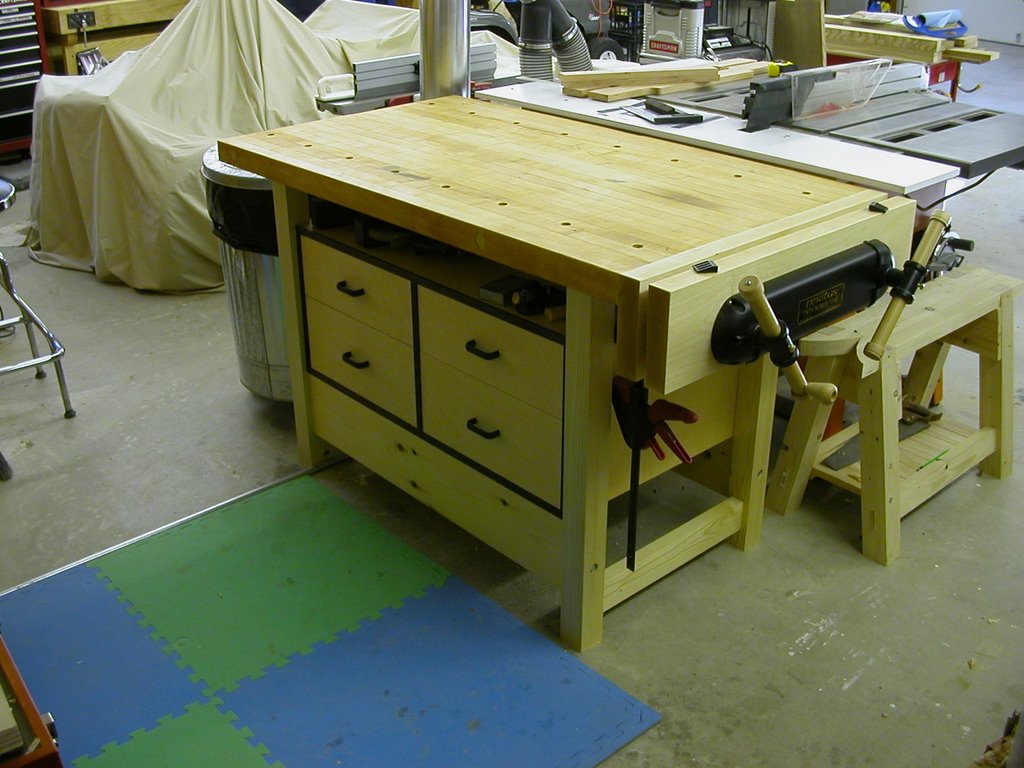
New Bench ... Completed

The new bench is done. The drawers are installed, the vise is up and working and it is in place.

The Veritas Twin-Screw vise was a true pain to install. 8/4 Hard Maple is pretty heavy, especially when you have a 7-1/8" x 30" piece of it, then try swinging around 2 of these clamped together. When drilling the holes for the screws to go through I realized why I need a bigger drill press -- it is hard to drill a 3-1/2" deep hole with a drill press that only has 2-3/4" of quill movement. Stopping in the middle of each hole to move the table up wasn't much fun, then the table tilt bolt decided to loosen up and the table shifted. All in all, I'm amazed the holes came as close to parallel as they did. Attaching the back jaw to the table was very easy, the included bolts work like a charm. Attaching the screws to the back jaw also went very easy. Then came attaching the screws to the front vise, and bam! I sheared off one of the bolts that holds the vise screw in place. Did I overtighten it? No, the head was yet to touch any material in front of it, I was still about an 1/8" from the bolt being in place. I ended up drilling it out, plugging the hole, and using one of my own bolts. With the vise up and running, oh wait, the screws didn't want to turn, so it's up but not running... I loosened the bolts on one screw and it worked much better, guess those holes weren't as parallel as I thought. I just left the bolts slightly loose, it seems to work pretty well now.

This project entailed a couple firsts for me. The biggest was installing a bunch of real drawers. The drawers are made of 1/2" pine. I dovetailed the fronts to the sides, then put the back in with a sliding dovetail. The bottoms for the smaller top drawers are 1/4" mdf. The bottom drawers have 3/8" BC ply for bottoms.

Building this bench was quite fun overall, and ended up being pretty cheap (other than the vise). The vise was $190 but is well worth it. I used the bench to build the drawers, and when cutting dovetails on long boards it is awesome to be able to just but it in the middle and slide it down close to the jaw. I ended up using Rockler plastic bench dogs, 4 for $3.99, instead of the more expensive veritas ones. I haven't been able to try out the Veritas ones, but I think they would be a big improvement.

Saturday, December 30, 2006

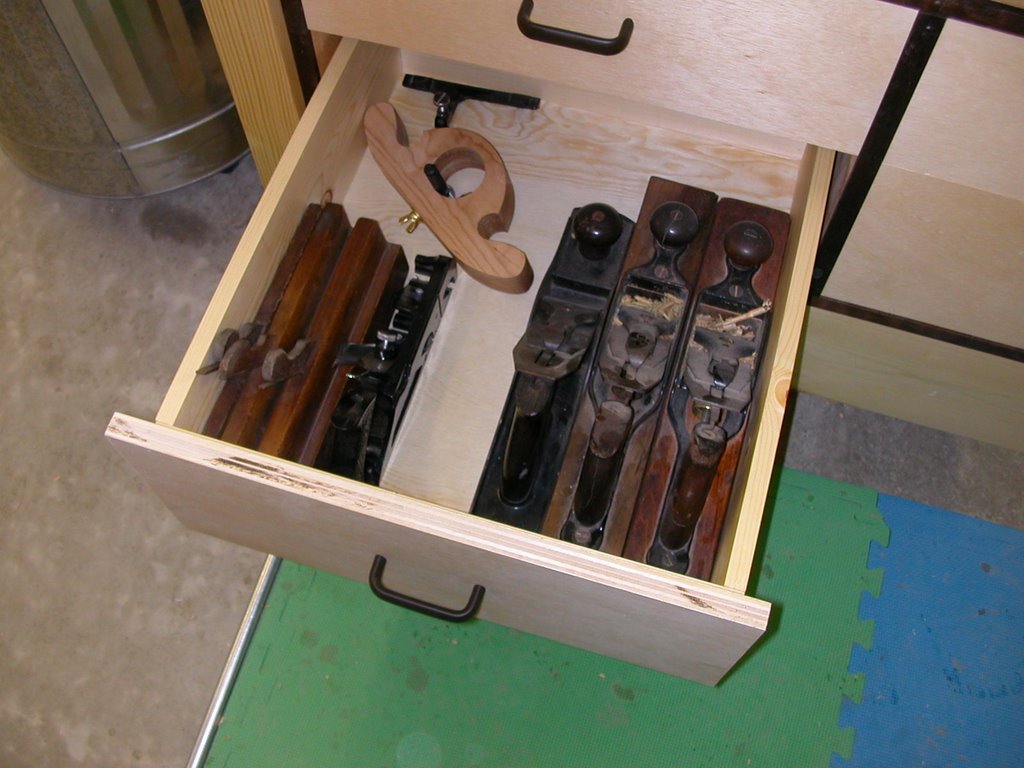
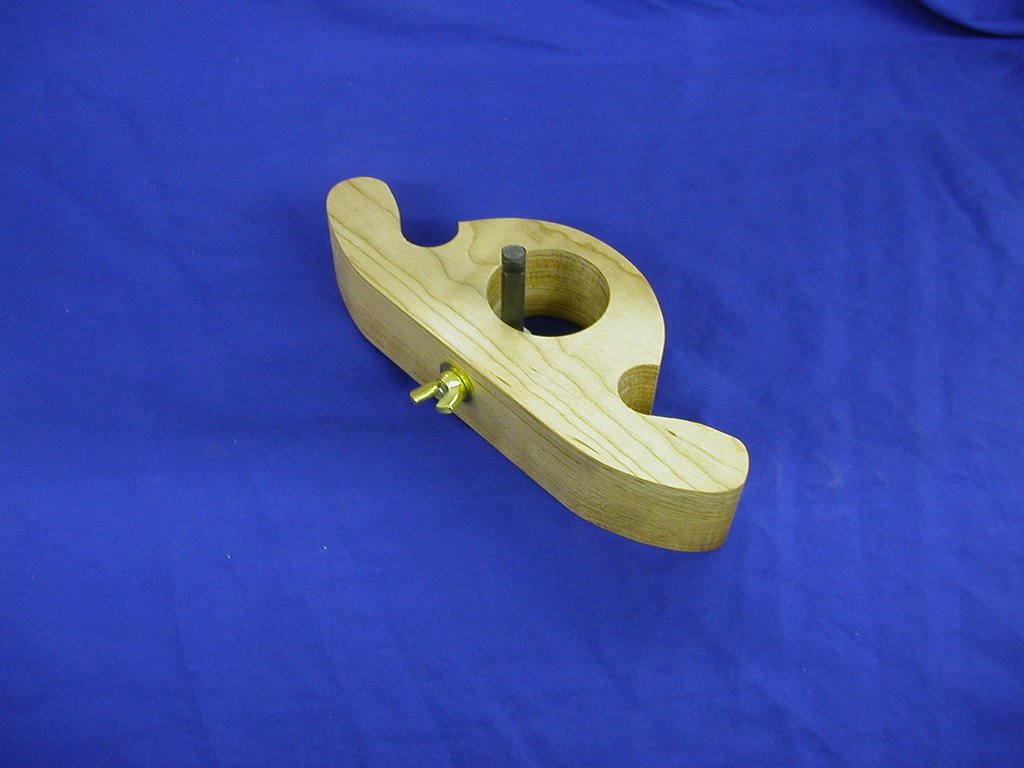
I finally finished building my router plane. It is made out of a laminated piece of maple, 1-1/2" x 3-1/2" x 9", a Veritas 1/4" router plane blade, a 1/4-20 thumbscrew, washer and wingnut. It's based on the $5 router plane plans from Popular Woodworking's August 2005 edition. I've already used the tool and think this will likely be a tool I commonly reach for.

Thursday, December 21, 2006

The New Bench... Continued

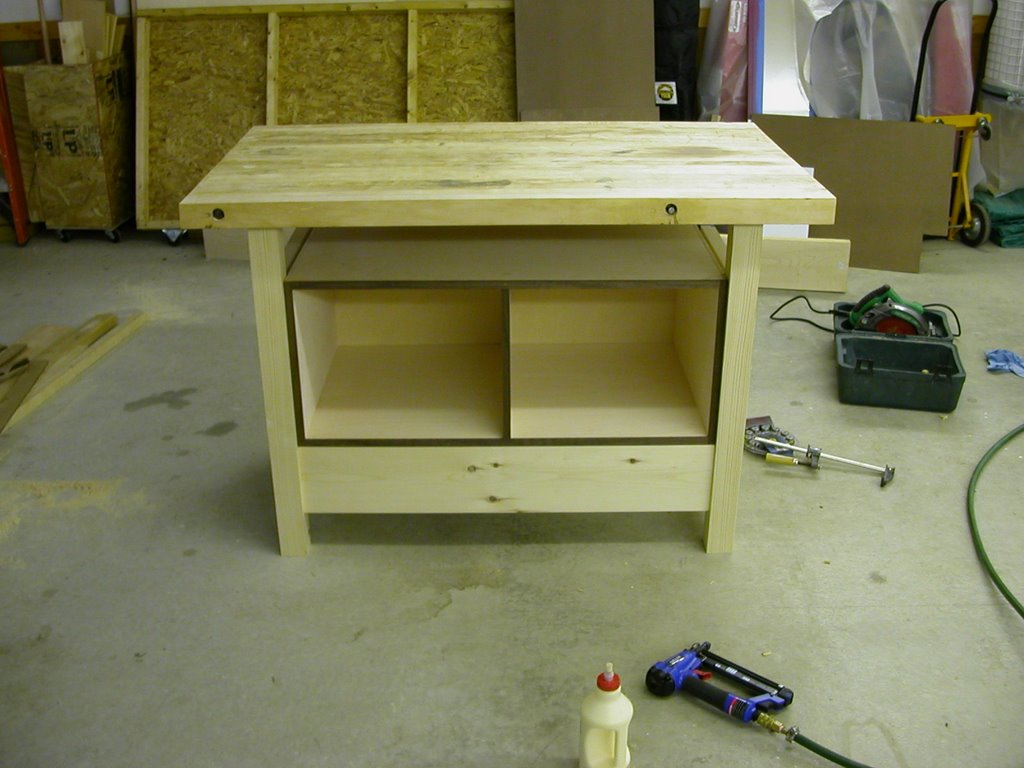
The base assembly is done for my new bench and the toolbox is finished except for the drawers.

This is my first attempt at mortises with a forstner bit. Went really well. You just need a good fence and it goes really quick. I didn't bother squaring the mortises, I just rounded the tenons.

Saturday, December 16, 2006

Starting the New Bench

I'm starting on building a new bench based on the "Power Tool Bench" from Popular Woodworking's Benches and Toolbox special publication. This bench will be a huge step up from my previous one - a Veritas Twin-Screw Vise, about two to three times the weight of the previous bench, and a bunch of storage underneath.

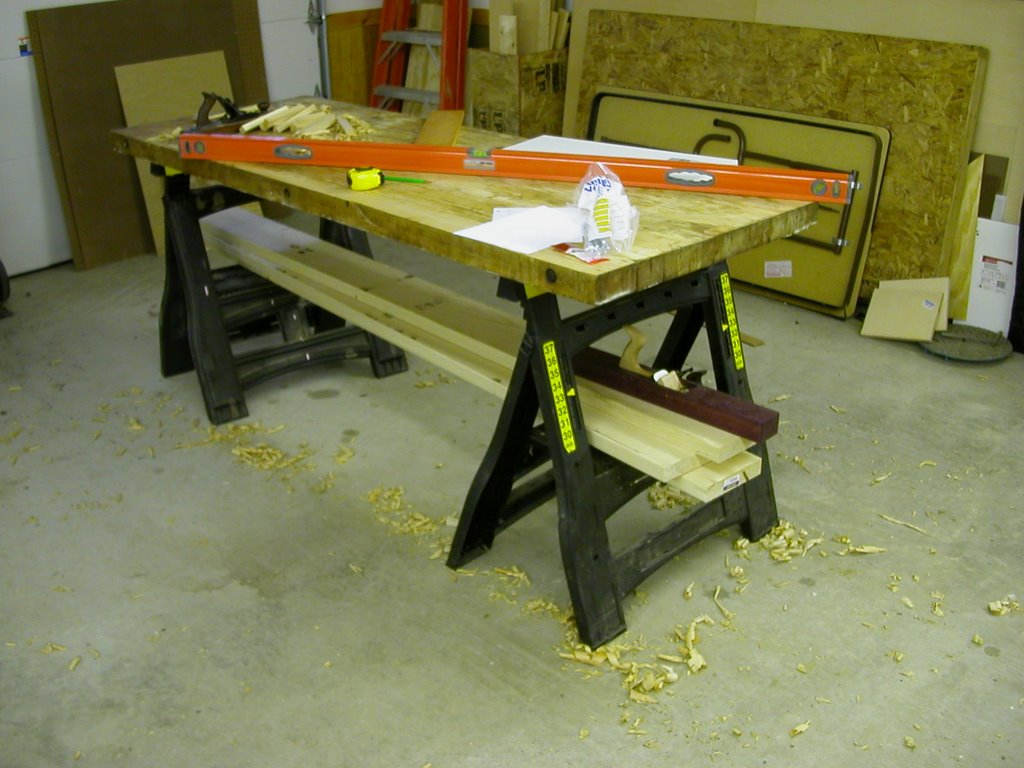
As I am gonna be spending close to $200 on the vise I wanted to keep the rest as cheap as possible. I've been storing up supplies for close to six months now. The top, pictured left, is a 2-1/2" thick maple table top I got for free. It had some stains and wasn't very level but after about 3 hours of work it was good to go. I'm only using 54" of it's 7 feet of length, so I have about a 30" x 30" piece left over for another project. The drawer slides were a closeout at Lowes -- for a dollar and a half a pair. I'm using the 3.99 for a pack of 4 plastic bench dogs from Rockler. The toolbox is constructed from a sheet of 3/4" sandiply (the $25 a sheet stuff I got from HD).

Friday, December 15, 2006

Making Saws

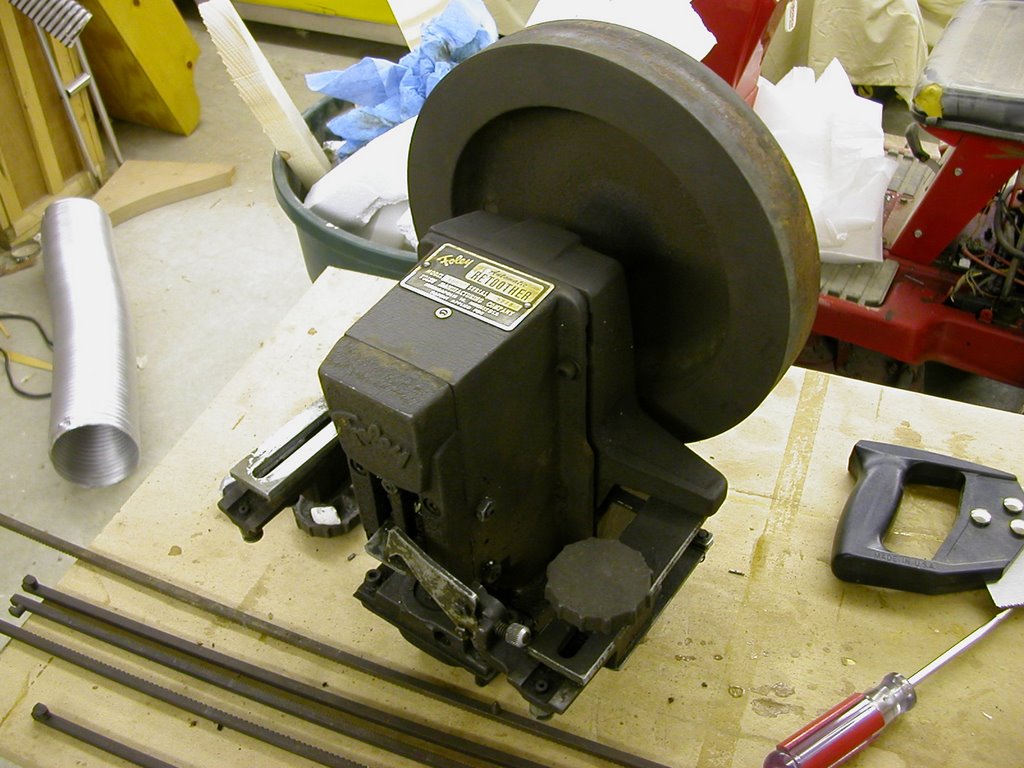
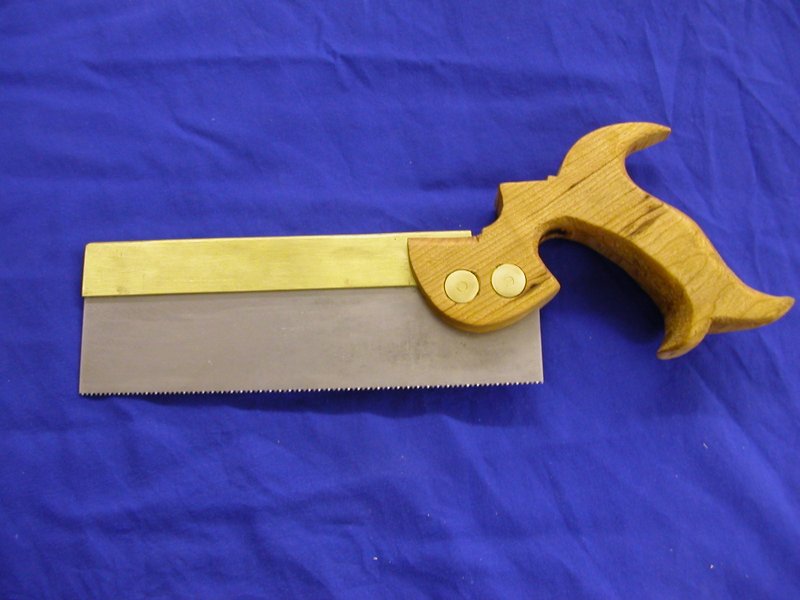
About a month ago I picked up a Foley Retoother, which led to the production of a few saws. First I tried making a small 8" dovetail saw. What a pain to bend over the back, I need to find a better way to bend the brass. I made the handle out of some cherry I had lying around and finished it with three coats of shellac. The saw has 12 teeth per inch, which is the highest count bar I had for the retoother. It is filed crosscut, although my next one will be filed rip.

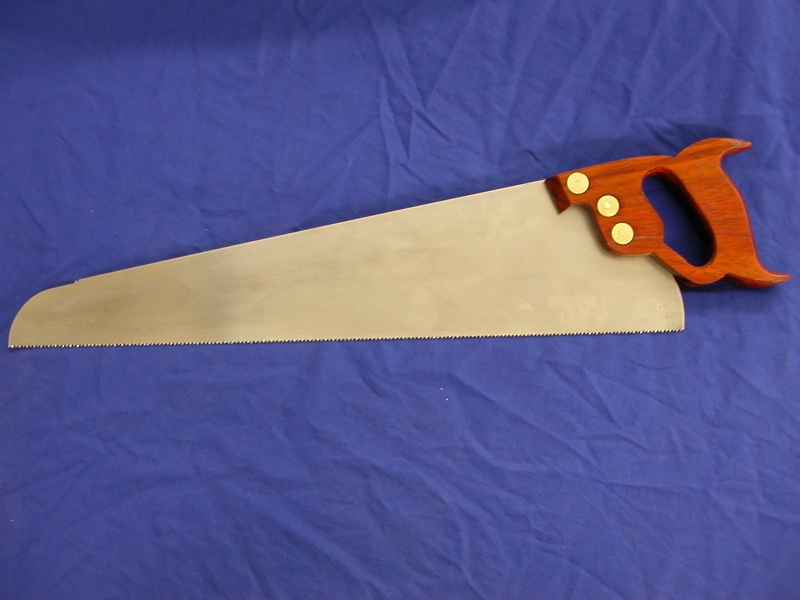
Then I decided to move onto something a little bigger. I made a 20" panel saw. I made the handle out of bloodwood. What an awful wood to shape, it just explodes for no reason creating "long, weapons-grade splinters" that really suck. The saw has 10 teeth per inch and is filed crosscut, 12 degrees of fleam and 8 degrees of rake. It cuts excellently.

Tuesday, December 12, 2006

Shaker Table


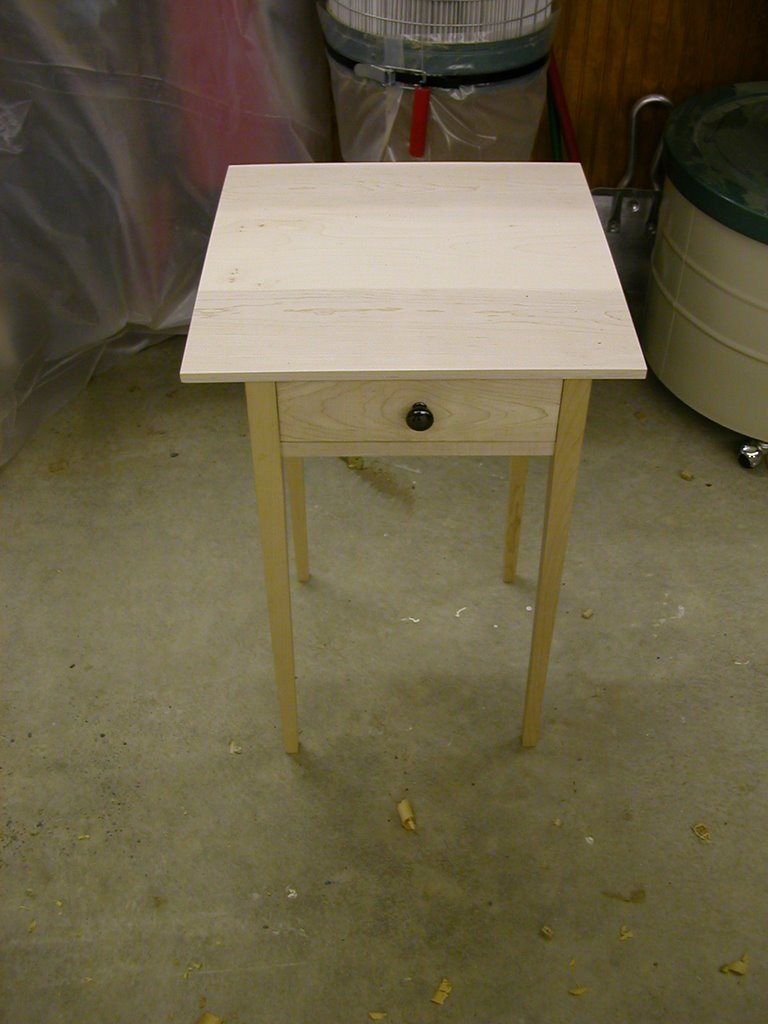
My second furniture making class is finished - and so is my Shaker Table. I still need to do a little sanding and put a finish on, but all the real woodworking is done. This table has 8 hand cut mortises and about a dozen and half handcut dovetails.